The Essential Role of 3D CAD Models in Precision Measurement and Inspection
In the world of dimensional metrology, the utilization of 3D CAD (Computer-Aided Design) models has become increasingly crucial. These digital representations of physical objects provide a wealth of benefits when it comes to measurement and inspection processes. The importance of 3D CAD models cannot be overstated. They serve as the foundation for precision measurement, facilitate proactive and detailed reporting, enable the inspection of complex geometries, aid in understanding old drawings, ensure precision in molded parts, and complete the inspection of parts for which the drawings lack comprehensive dimensioning.
Q-PLUS Labs, now Industrial Inspection & Analysis, is a leading provider of dimensional metrology services, we recognize the importance of these digital blueprints in enhancing the accuracy and effectiveness of our measurement and inspection processes. In this article, we will explore some of the core reasons why 3D CAD models are indispensable in modern metrology and why they should be a proactive consideration for both clients and service providers.
Here are some of the top reasons why 3D CAD models are useful for measurement and inspection:
1. Model-Based Inspection:
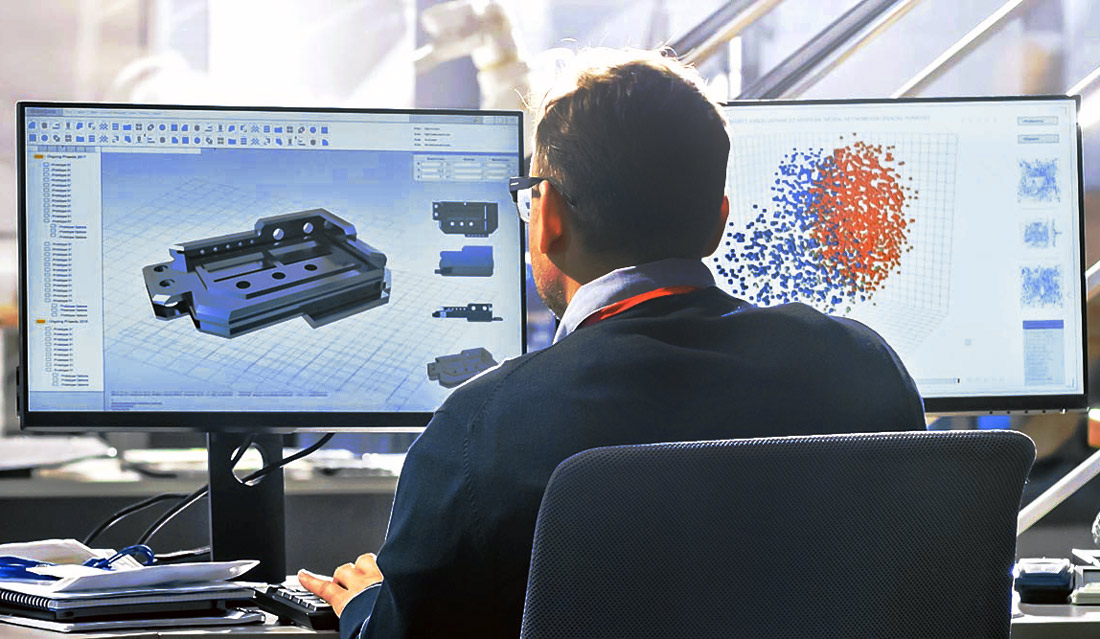
At the core of precision measurement lies the concept of Model-Based Inspection (MBI). MBI utilizes 3D CAD models as the foundation for inspection and quality control. These models serve as the reference for all measurements, allowing metrologists to program inspection equipment with pinpoint accuracy. This not only enhances efficiency but also ensures that inspection results align precisely with the intended design, reducing the chances of errors and deviations.
2. Detailed Results and Proactive Reporting:
In cases where clients require detailed inspection results, the provision of a 3D CAD model is invaluable. It enables metrology professionals to generate comprehensive reports that go beyond simple pass or fail outcomes. These reports can include detailed deviations, variations, and tolerance analyses. Proactively offering such detailed results, especially when out-of-tolerance conditions are detected, adds substantial value to the inspection process and empowers clients with actionable information for process improvement.
3. Complex Geometry Inspection:
3D CAD models are indispensable when inspecting parts with non-prismatic geometry, such as aerofoils or intricate organic surfaces. Unlike conventional dimensional drawings, which may lack the granularity to define such complex shapes adequately, CAD models offer a complete and accurate representation. Inspecting these intricate features would be a daunting task without the reference provided by CAD models.
4. Enhancing Understanding of Old Drawings:
In cases involving older drawings or legacy documentation, the presence of a 3D CAD model can significantly aid in comprehension. CAD models provide a visual and interactive representation of the part, making it easier to interpret the original design intent. This can be especially valuable when deciphering complex or poorly documented drawings.
5. Precision in Molded Parts:
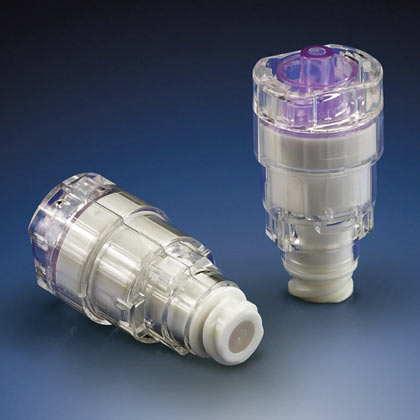
For parts produced through plastic injection molding, understanding the mold draft design is crucial for accurate measurement. A 3D CAD model reveals how the mold draft was intended to shape the part, ensuring that measurements are taken precisely where needed. This is particularly relevant in industries where small deviations can have a significant impact, such as medical devices or aerospace components.
6. Completing Incomplete Drawings:
In some instances, clients may request 100% inspection of parts with drawings that lack comprehensive dimensioning. This is particularly common in drawings created primarily for in-process inspection purposes. In such cases, having a 3D CAD model is instrumental in ensuring that all features are inspected correctly and completely, leaving no room for ambiguity.
Empowering Precision through 3D CAD Models
Embracing 3D CAD models as an integral part of the measurement and inspection process is a step toward achieving higher accuracy, efficiency, and client satisfaction in the world of dimensional metrology. One fundamental reason we rely on 3D CAD models is to facilitate Model-Based Inspection (MBI), a cornerstone of modern metrology. MBI empowers us to harness the latest technology, benefiting both us as a service provider and, more importantly, our clients. These digital models serve as the cornerstone of our inspection and quality control efforts, allowing our experienced metrologists to program inspection equipment with unparalleled precision. This approach not only streamlines our processes but also ensures that our inspection results align impeccably with the intended design, reducing the margin for errors and deviations.
We understand that our clients rely on us not just for pass or fail assessments but for comprehensive insights that empower their decision-making processes. When clients require detailed results, the provision of a 3D CAD model becomes instrumental. It enables us to craft comprehensive reports that transcend the binary pass or fail outcomes. These reports encompass detailed analyses of deviations, variations, and tolerance assessments. Our proactive approach to delivering such comprehensive results, particularly when out-of-tolerance conditions are detected, adds significant value to the inspection process. This, in turn, equips our clients with actionable information for process enhancement and quality assurance.


Leave A Comment
You must be logged in to post a comment.